Shower Leaking Through Ceiling Repair – WD18
This upstairs shower leak repair involved a full strip-out of the shower enclosure and tray to inspect the substrate and waste connections. We reinstated the area with a new tray and enclosure, upgraded the waterproofing and tanking to the walls and tray junction, and completed the retiling. The leak source was resolved, and the affected ceiling below was made good and repainted.
01 — THE CHALLENGE
The Challenge
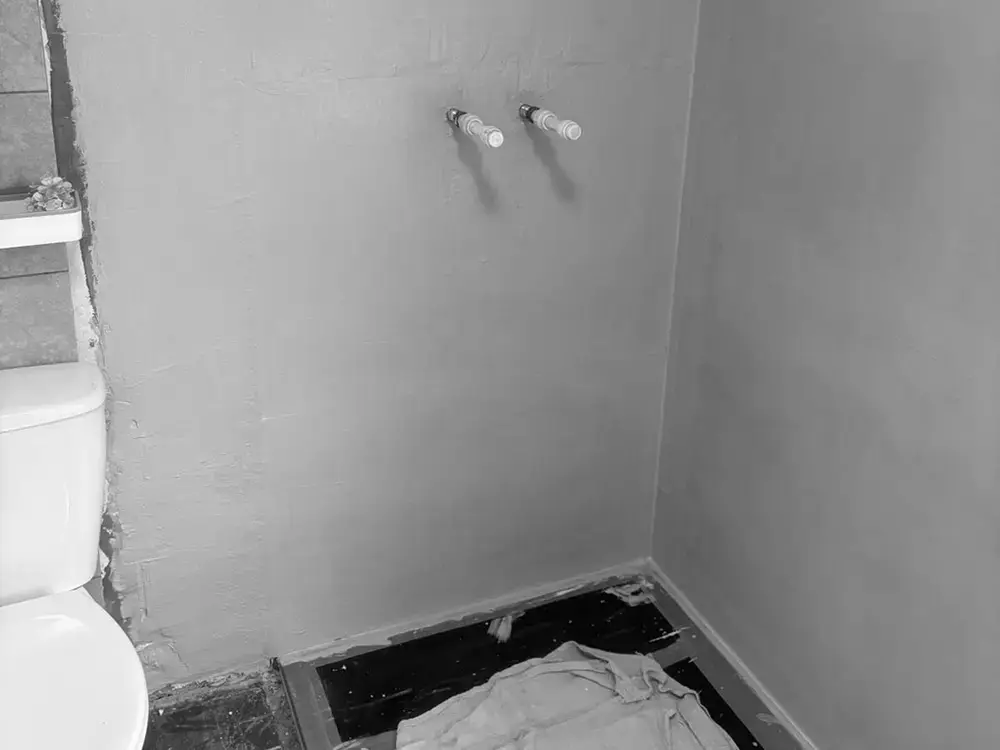
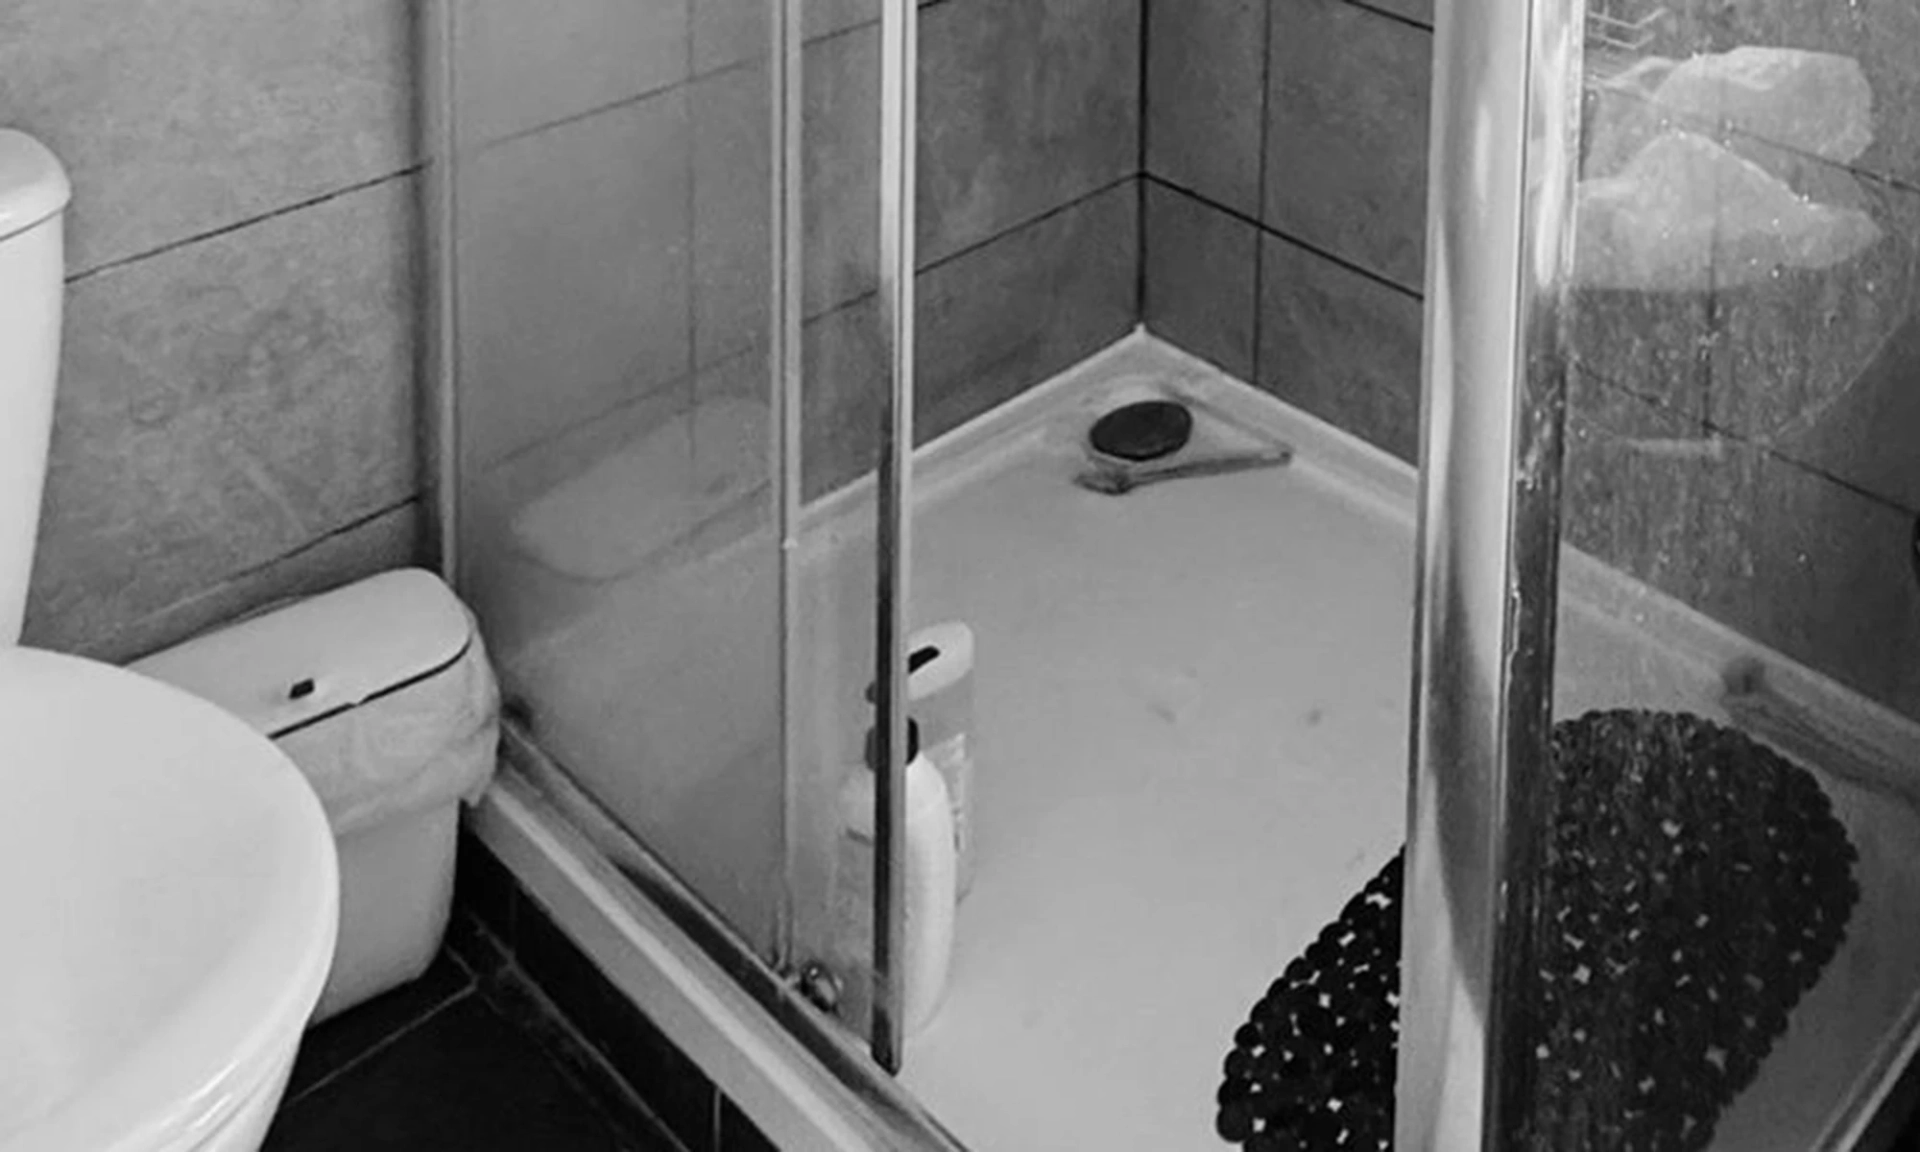
The shower was leaking through the ceiling, with staining and damage visible in the room below. The priority was to isolate the failure point and confirm what could be salvaged behind the finishes without causing further disruption. Because this was a live wet zone, the tray, waste and wall-tile junctions needed a properly tanked and sealed build-up rather than a like-for-like swap. The works also had to be completed efficiently while still allowing correct drying, preparation and curing between stages.
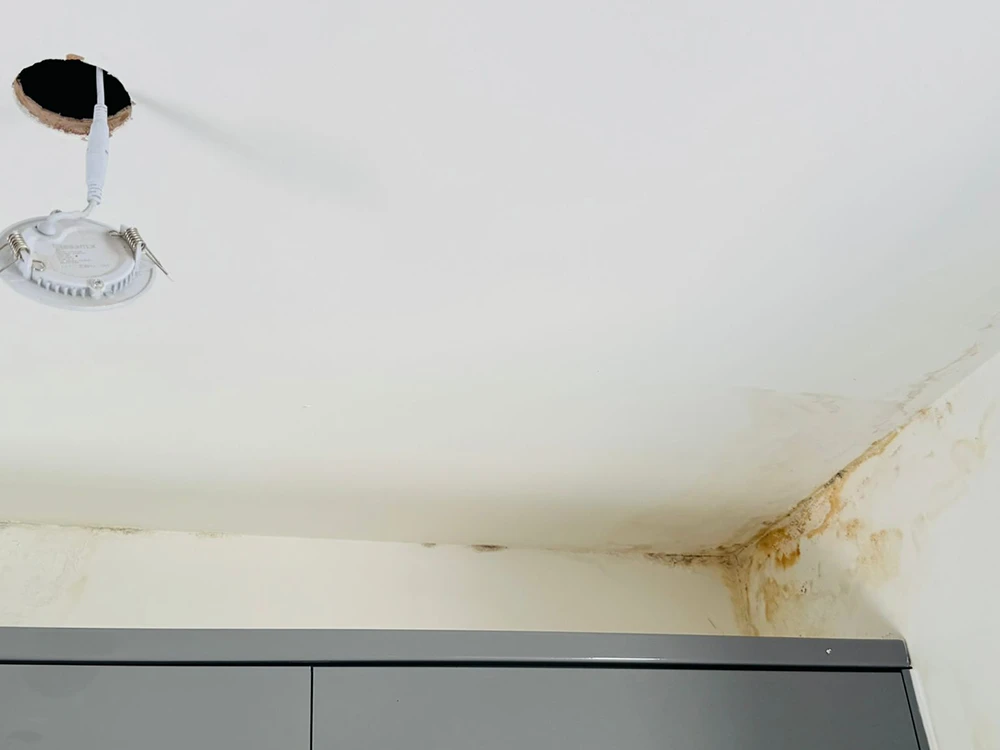
upstairs shower leaking through ceiling
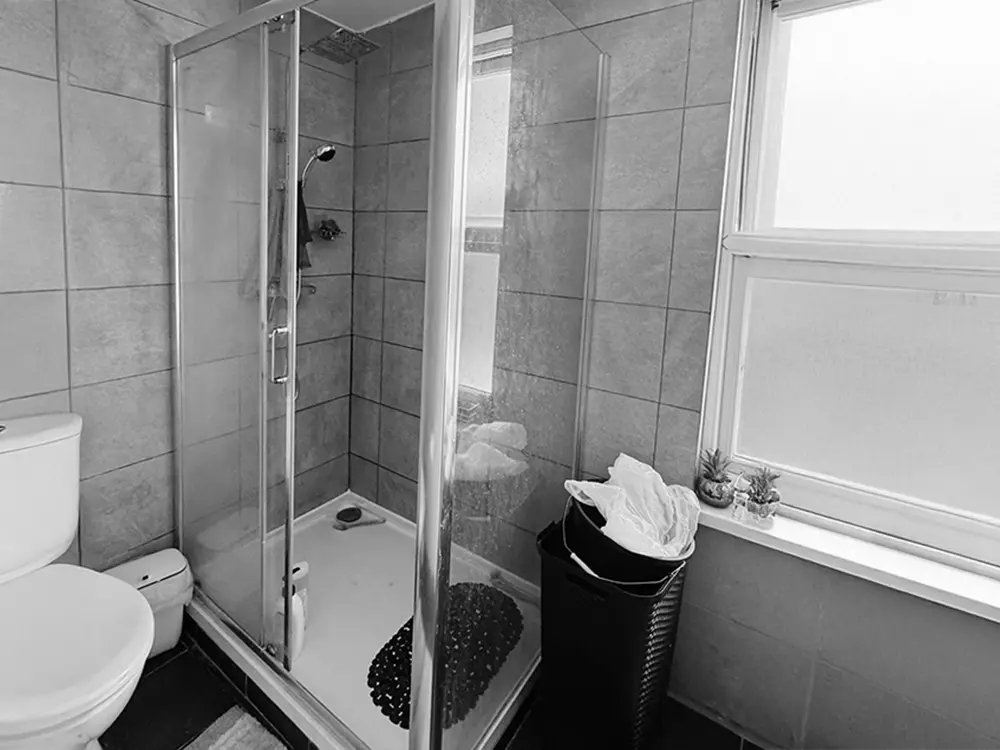
Bathroom Before
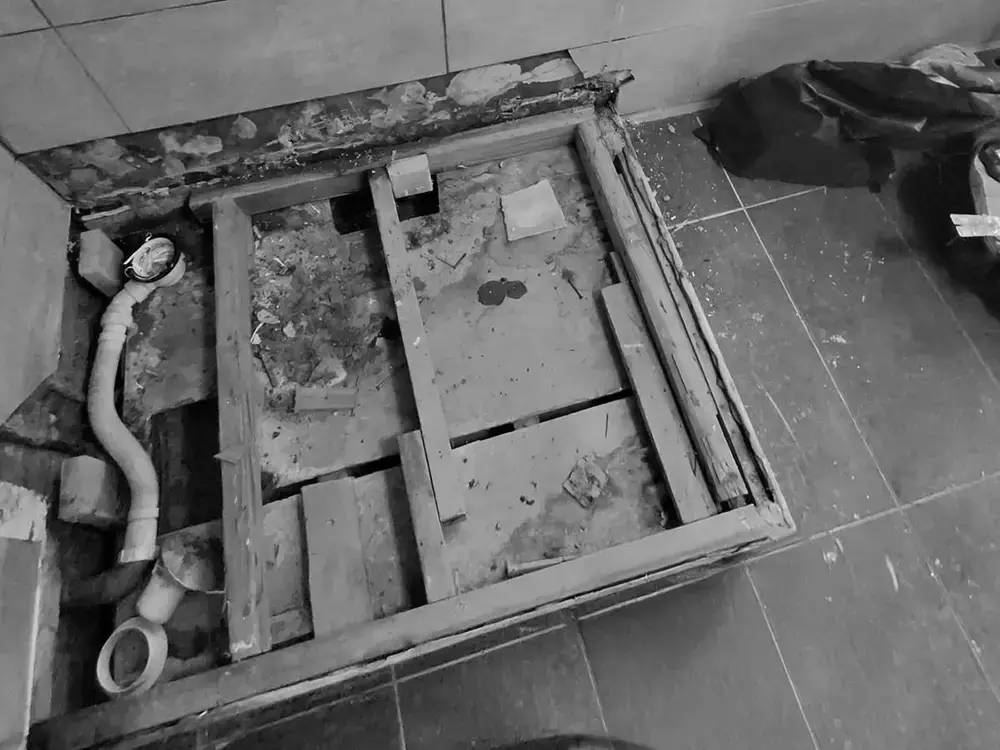
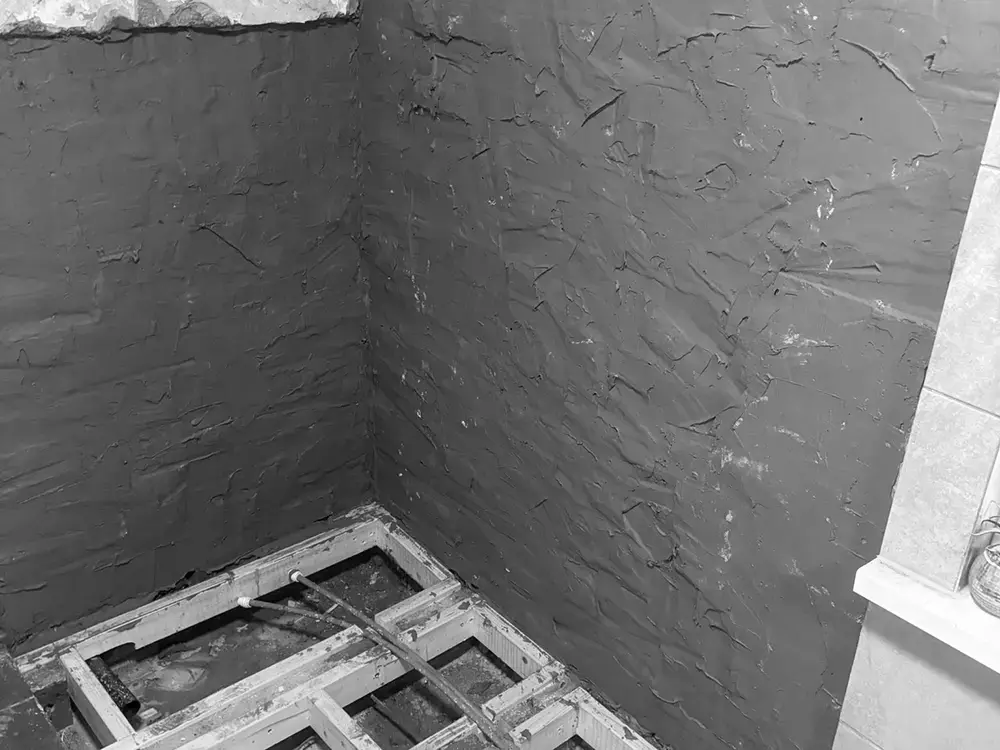
Subfloor opened for inspection
Pipework exposed
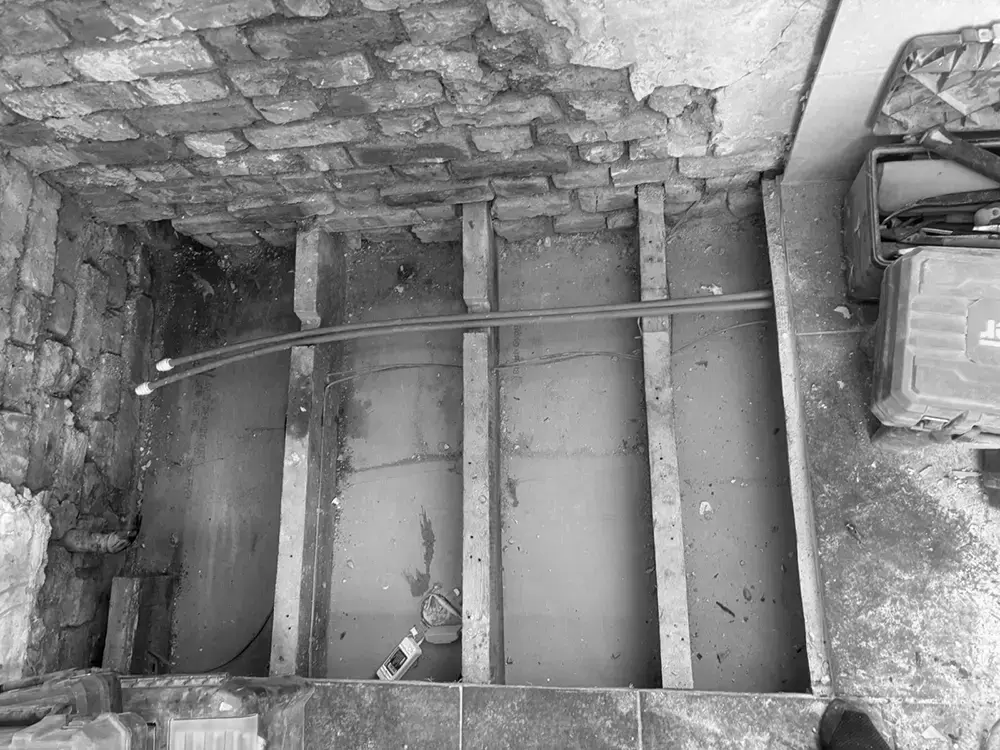
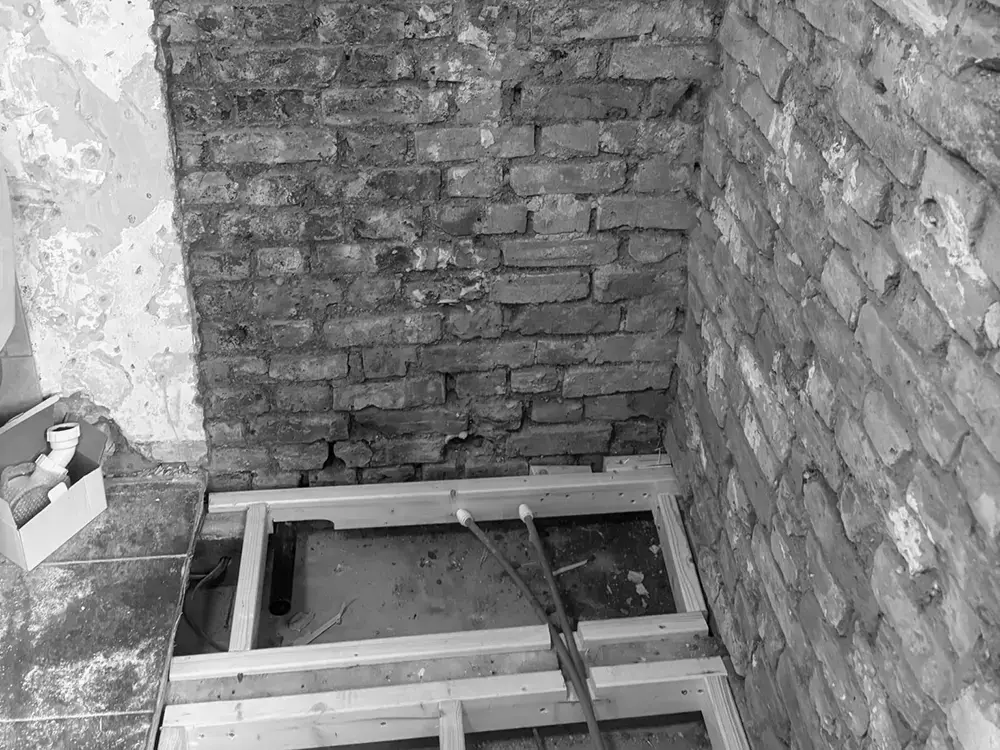
Floor structure exposed
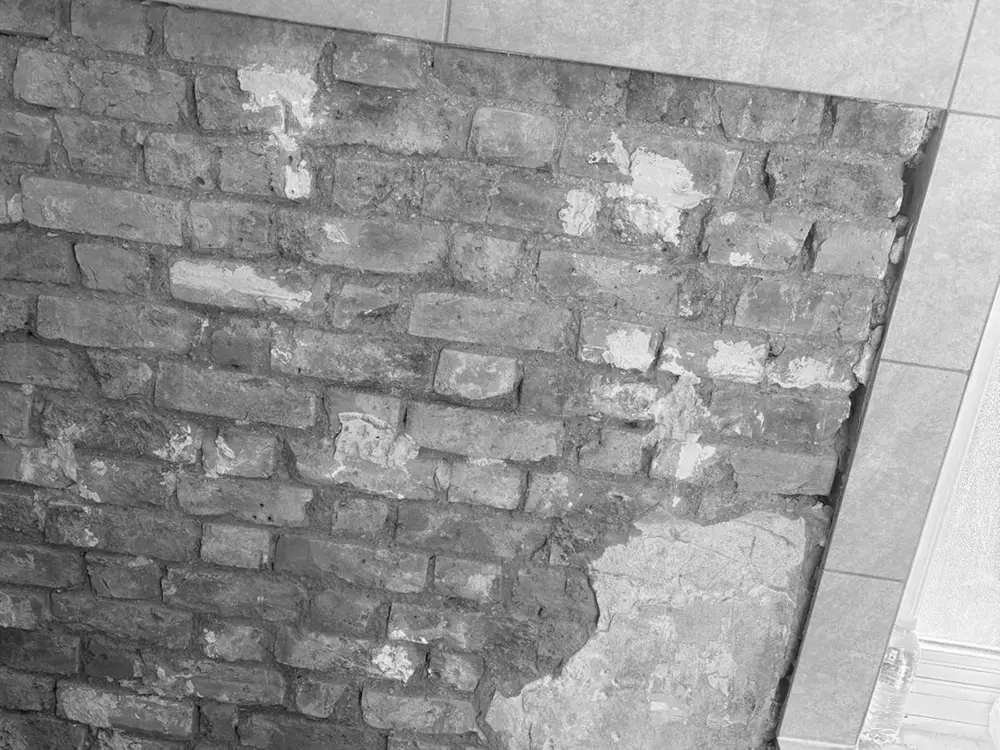
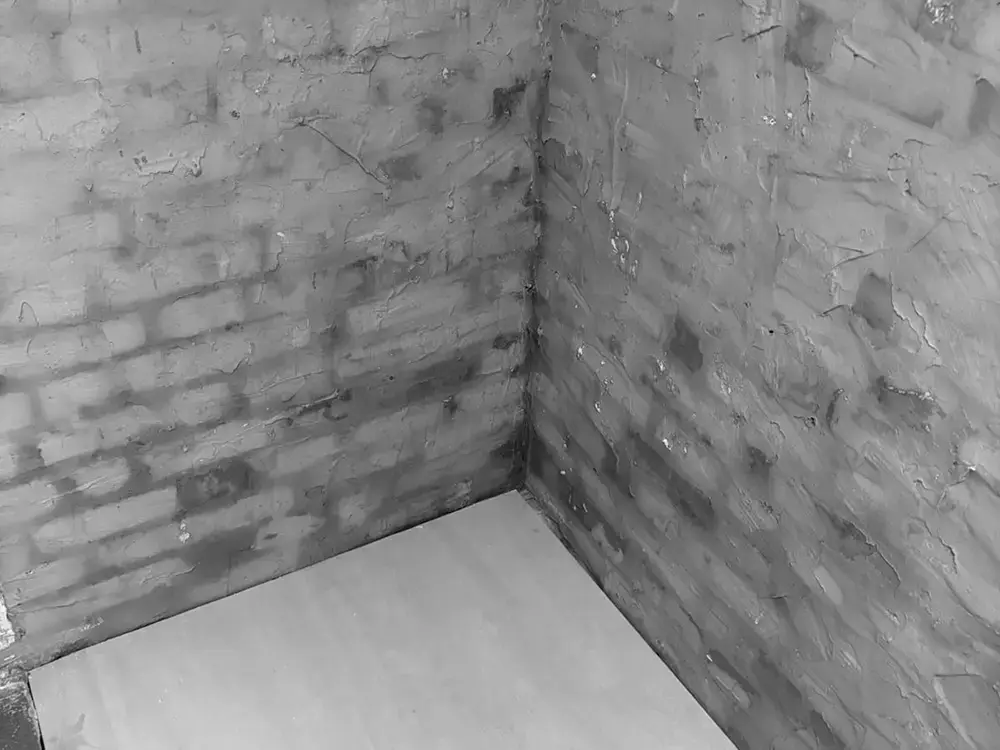
Wall finishes removed
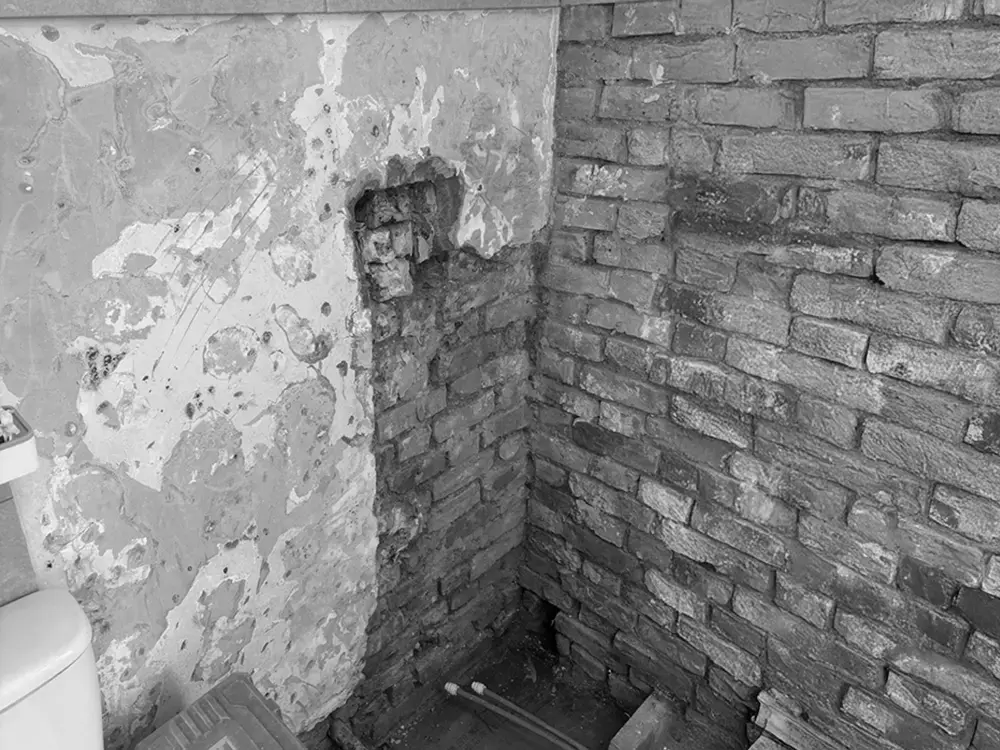
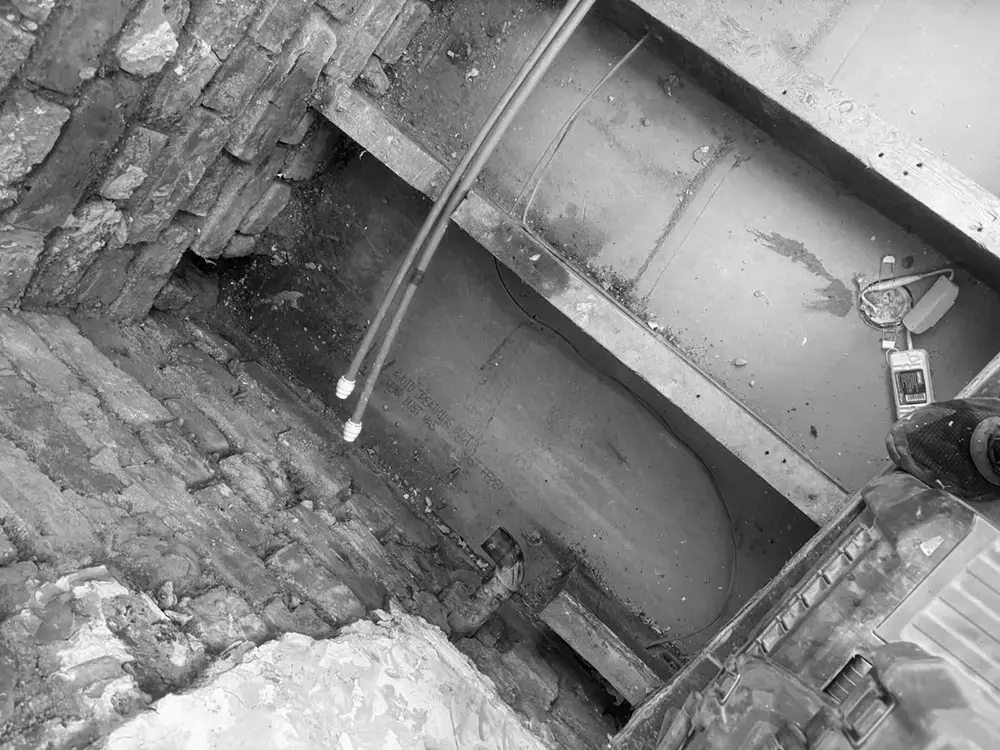
Leak investigation stage
Structural checks underway
Waterproofing preparation
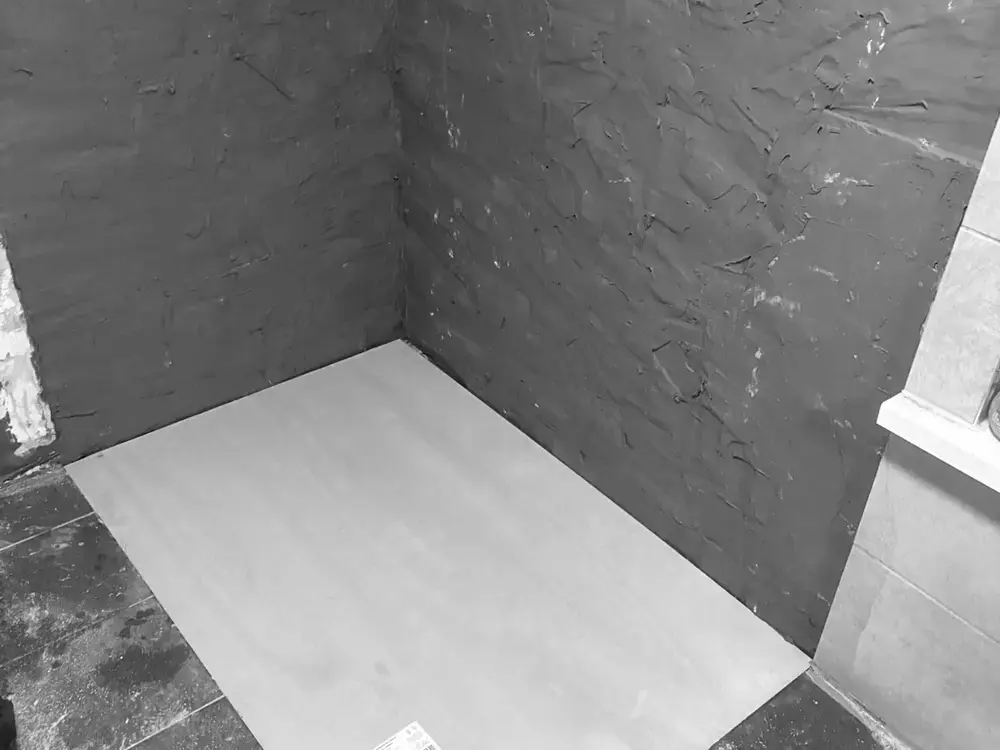
Base preparation complete
New shower tray installed
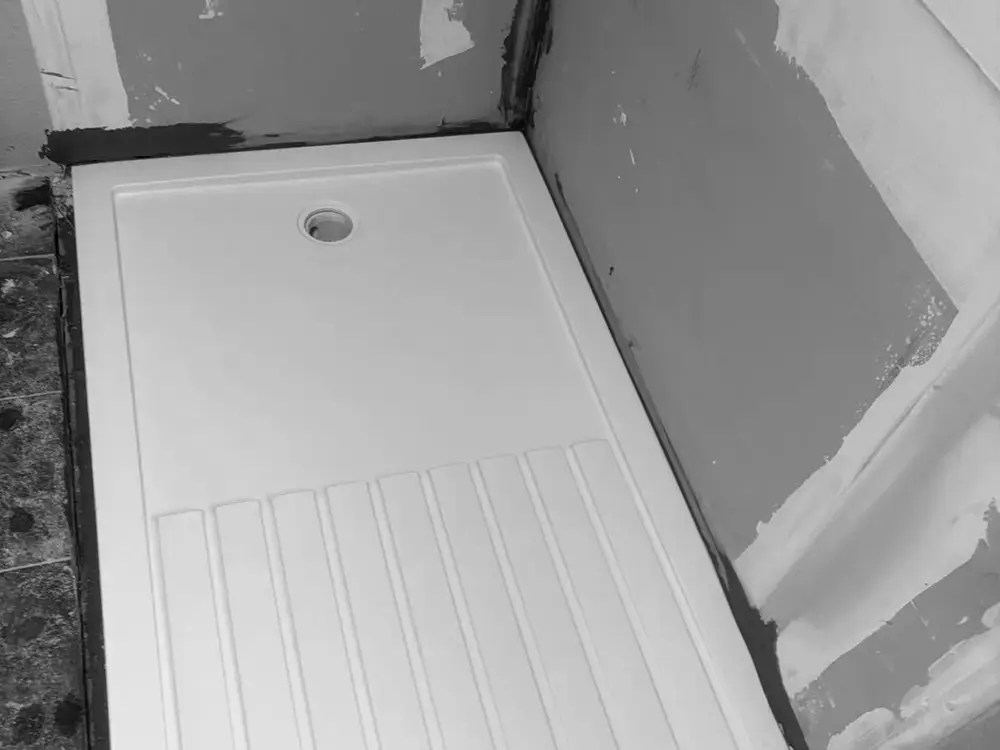
Ready for next stage
Wall preparation complete
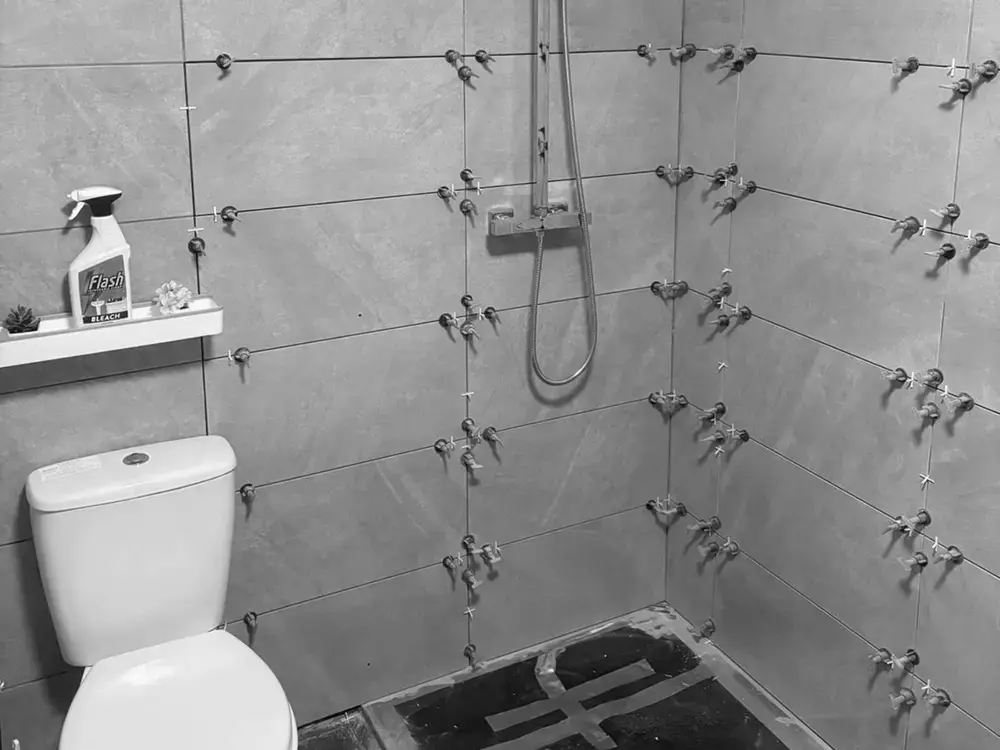
Tiling underway
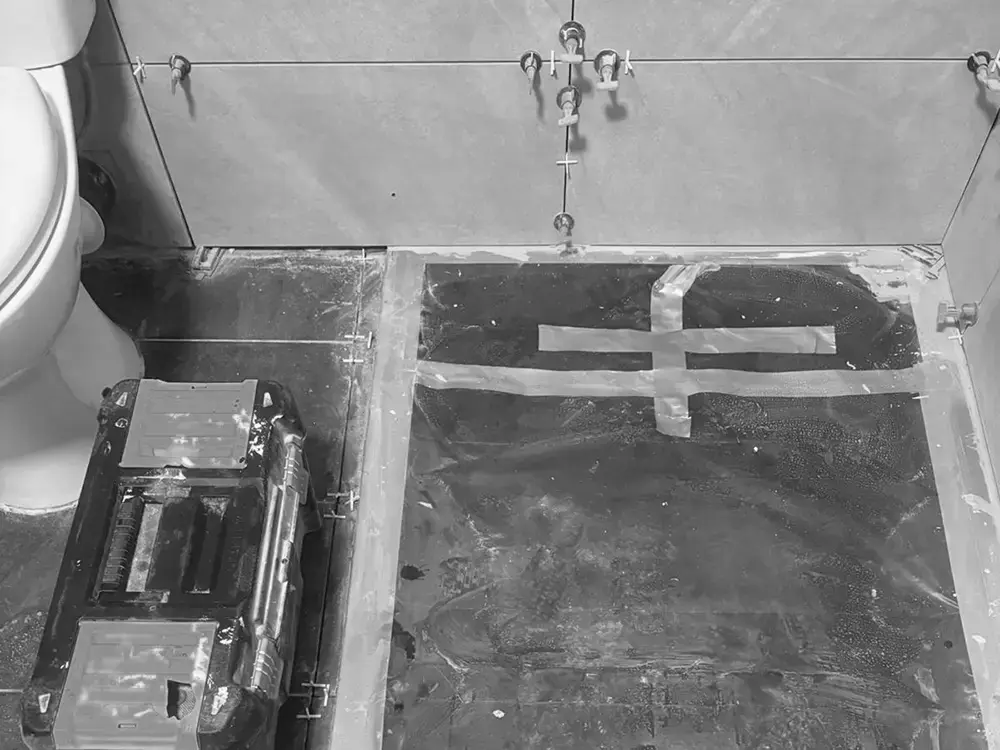
Shower base protected
02 — OUR APPROACH
Our Approach
03 — THE RESULT
The Result
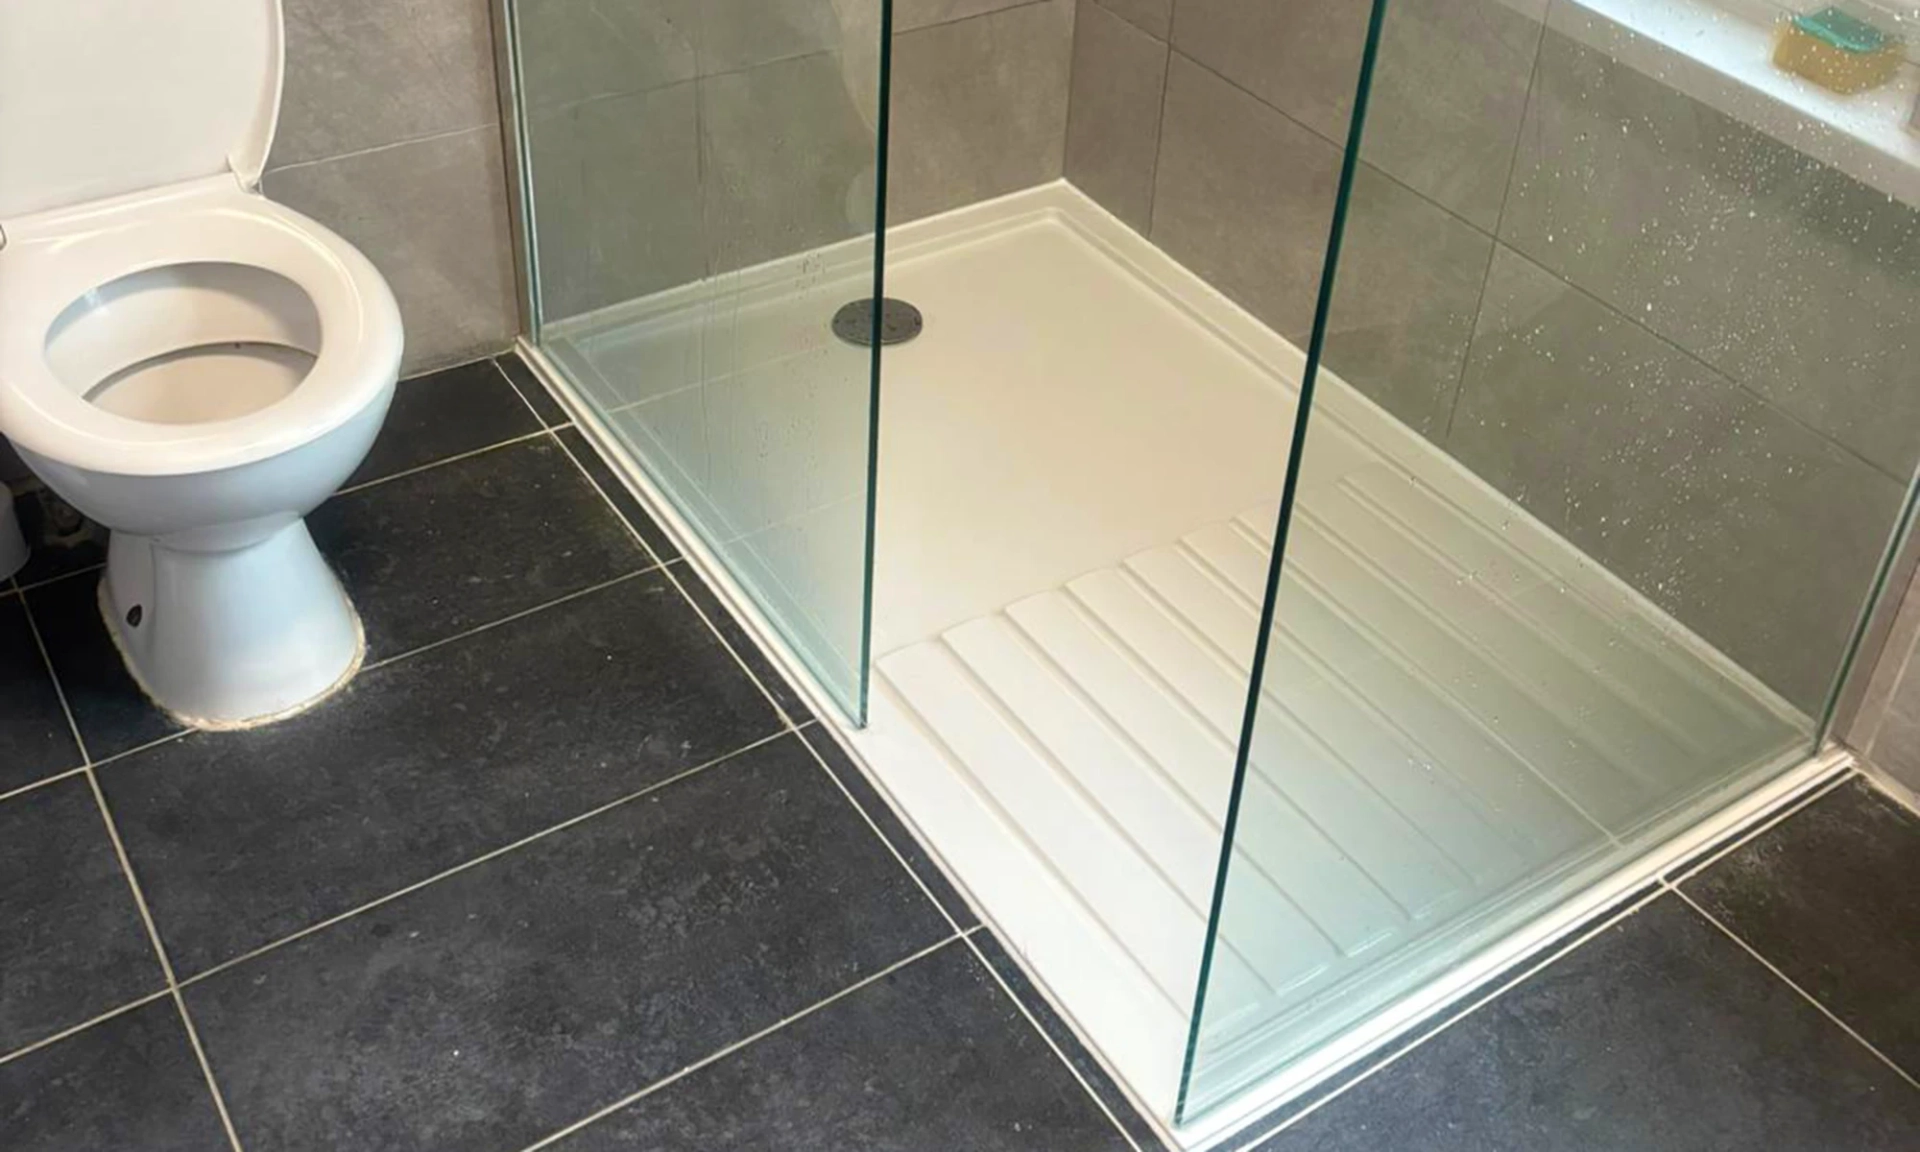
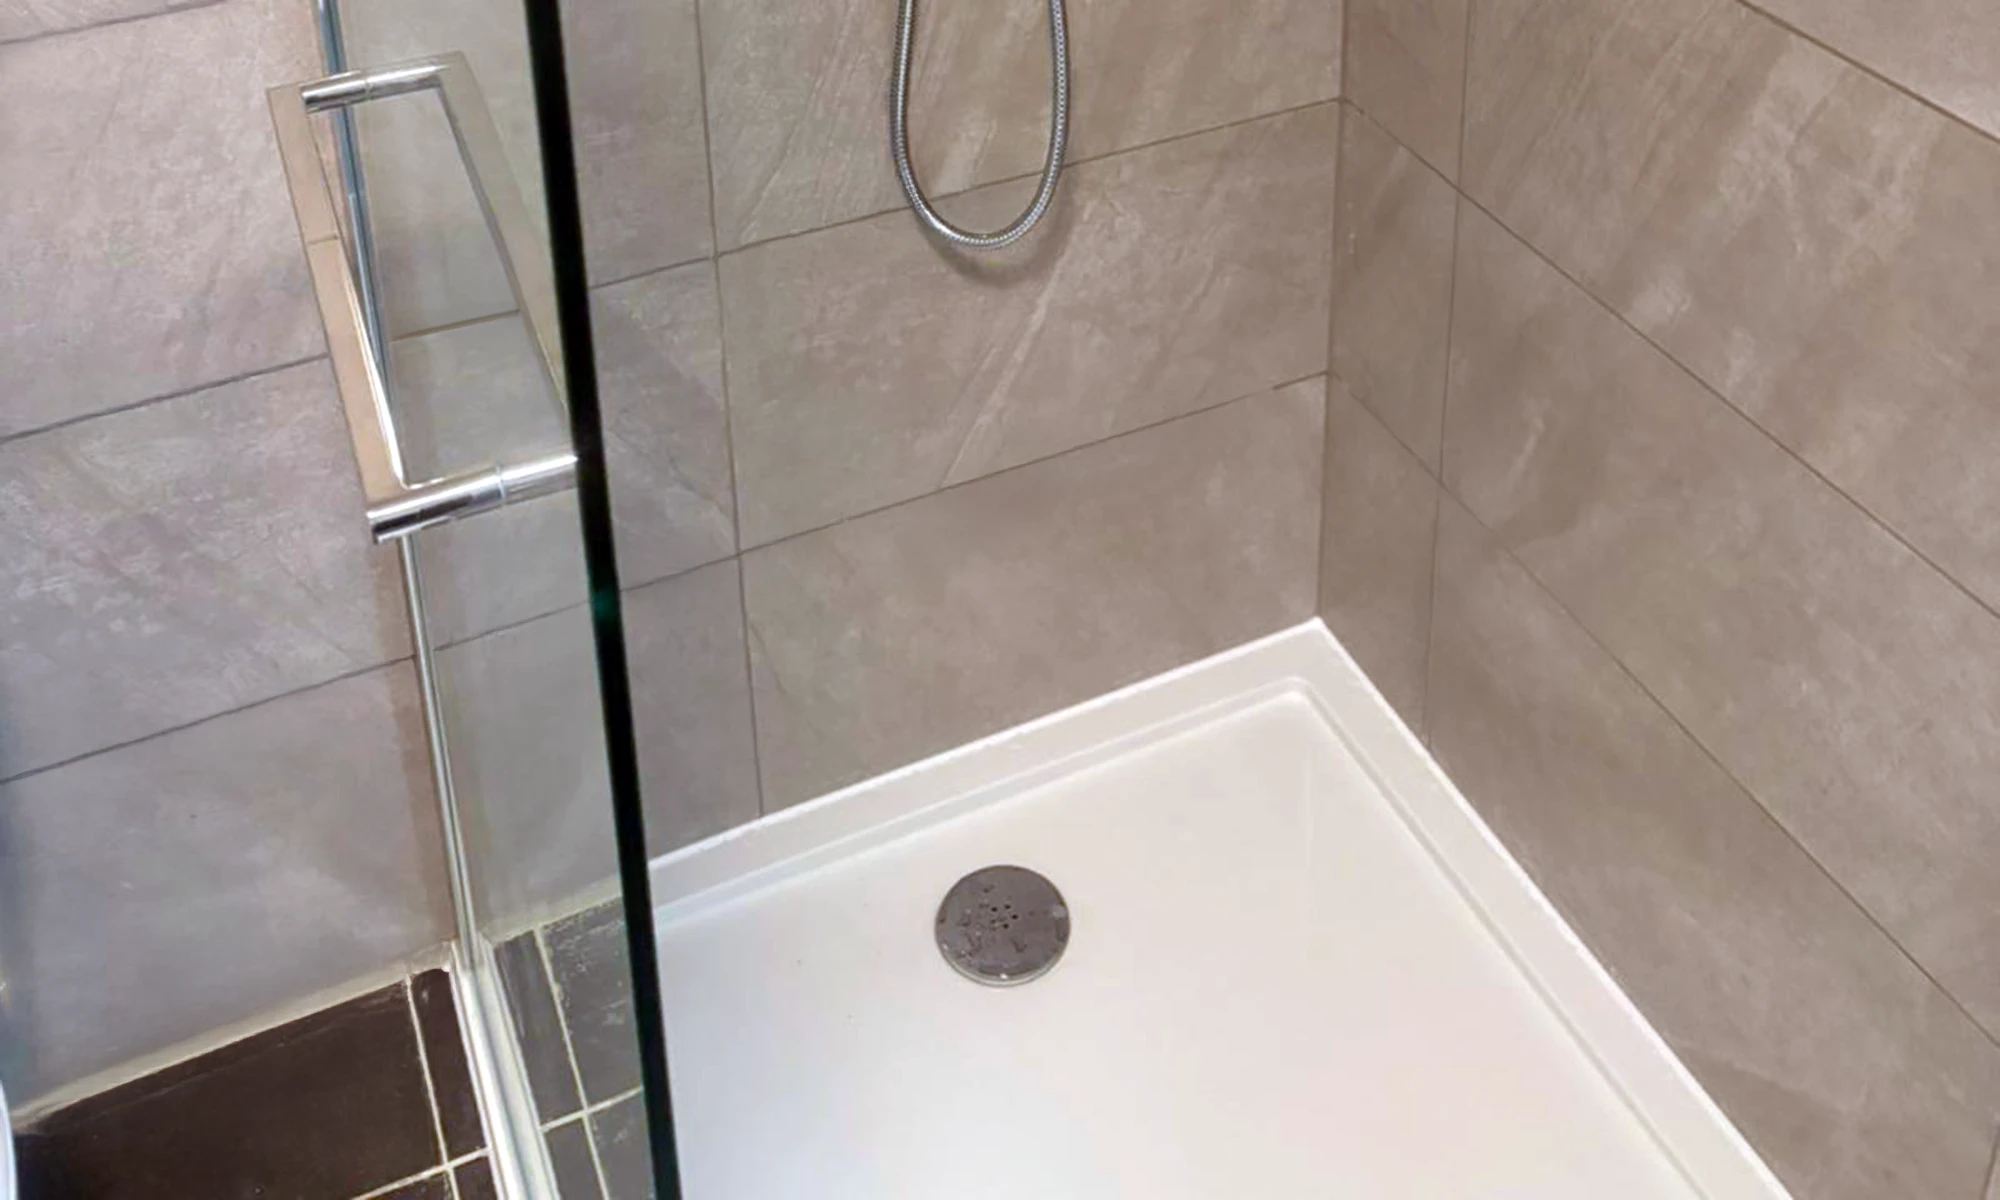
Leak source resolved with sealed, reinstated shower zone.
The shower area was rebuilt with a new tray and enclosure, backed by a tanked waterproofing system and correctly prepared substrates. Tiling and silicone detailing were completed to protect the tray junctions and high-risk edges where leaks typically start. The ceiling below was made good and repainted (mist coat plus two coats, client-supplied paint) to restore the affected room. Final plumbing checks were completed to confirm stable drainage and a watertight handover.


“The work was carried out to a highly professional standard from start to finish. They also ensured that any issues that arose after completion were promptly addressed and resolved.”
— Elizabeth,, WD18
Ready to transform your bathroom?
Let our expert designers create the bathroom of your dreams. Give us a call on 01923 551006 or


